
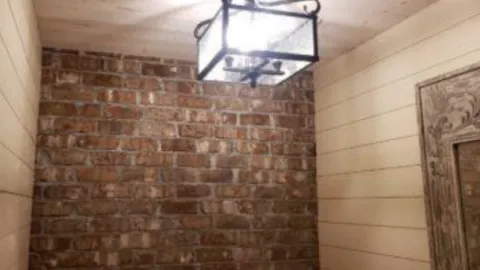
Today I am adding an interior brick accent wall. It's not structural. It doesn't have to withstand weather or anything. It's just an interior brick accent wall. This wall is supposed to look like a brick wall that maybe used to have plaster on it before it was chiseled off and cleaned up for an accent.
We're laying this out from scratch in a newer house that's made to look like an older house. We've got to know a few tips to make this look right and understand some of the differences between this type of wall and a pointed exterior brick wall.
Video Version
For the full visual experience, watch the video version below.
This video was a live session and the quality wasn't very good, so I apologize in advance.
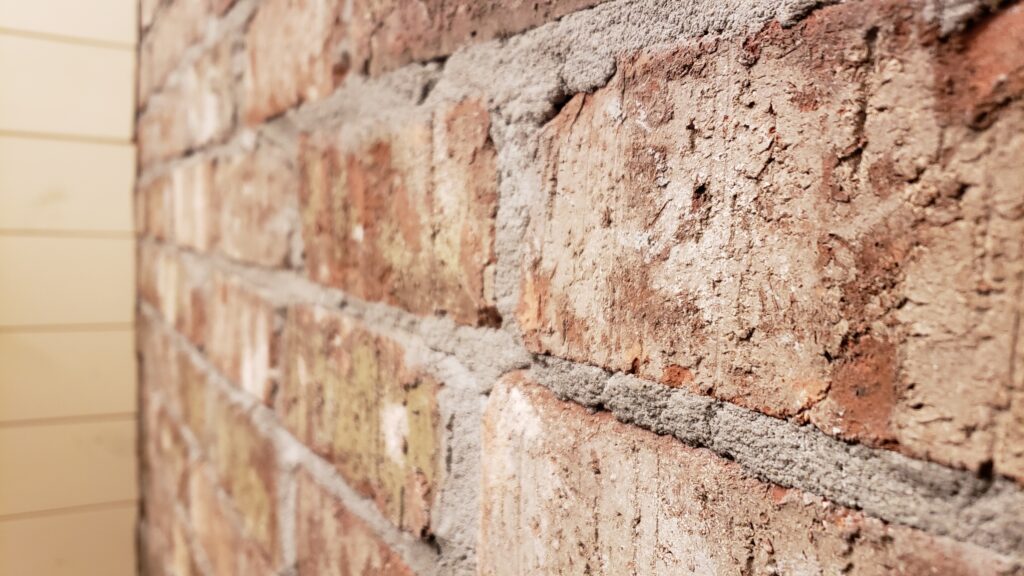
What we're doing here is scraping the joint with a trowel. We're not pointing. If you did an exterior joint, you would need to make sure it's smooth and sealed.
Brick Selection
Since this is supposed to be an interior brick accent wall, the bricks I've chosen have a lot of bumps and chips. They look like old bricks that might have been in a wall like this. You can also purchase used brick, but they can be pricey because someone has taken the time to clean the mortar off of them, or they need lots of cleanup work. These are new bricks made to look weathered and older.
Let's Get Started
First we're going to lay up one of these rows. I'm going to lay the mortar for the bed joint, the horizontal joint under the new course, first. This is not a complete guide to laying brick. I had a couple of uncles who were bricklayers and learned a lot of tips from them, but I am no expert bricklayer.
On this new course, we're going to start with a full brick because I started with a half brick on the course below. Another thing that you see in old brick walls is the end of some bricks coming through that would have tied through to another course in their wall.
Those old masonry walls that we are trying to mimic were three or four courses thick, most of the time 13 to 18 inches thick. Because of that, we've got a couple of those ends showing in our rows too. That makes it look more authentic.
Now we're going to go with a couple of regular courses next. I ended with a half brick, so I'm going to start with a full brick. Then we're going to lay up the rest of the course.
The Mortar Joint
I'm going to get a little mortar and butter each joint on the end. After we do our bed joint, we're still going to butter the end. I'm buttering these two directions because I want to leave this as full on the end as I can. When we press that in, we get good squeeze-out on all three sides.
Butter the next one and do the same thing. Butter both ways, then push the brick into the last one. Keep repeating and setting them as you go.
Again, this is not a tutorial on how to lay a structural brick wall. If you were doing a wall, you'd probably lay your corners first and mark your joints on the sides. You would have a story pole and mark where every brick course needs to be. At that point, you would lay up the sides of the wall first, set a stringline between them, and stay right on that stringline.
The Look of the Interior Brick Accent Wall
That's not the look we're going for here. We're going for a rough look. The bricklayer who laid these old walls would have worked quickly. They wouldn't have cared about too much irregularity in the courses. A little bit of ins and outs was fine, so we're trying to duplicate that.
When you need a piece of a brick on the edge, use your brick hammer to make a score where you want the brick to break. Do that on all sides, then break it along the scored line and lay that brick in the space.
The difference with these joints is that you don't want to run them too much with your trowel because it will look too finished. You want the mortar to look like it was broken and chipped off flat with the plaster.
Use a level to make sure you don't get way off, but don't be overly fussy about it. Set all the bricks on the course and tap them down so the wall doesn't look noticeably out of level.
Scraping the Brick Joints
Try to scrape off the excess mortar flush with the face of the brick. If you need to fill a particular area, do so, then come back and scrape it to get the look that you want.
I've also been taking a soft-bristled brush and going over it afterward. Knock off the rough spots and blend it just a little bit, but not a lot. Wait a few minutes before brushing. I lay two or three courses, then brush the previous two or three to give the mortar a few minutes to set up.
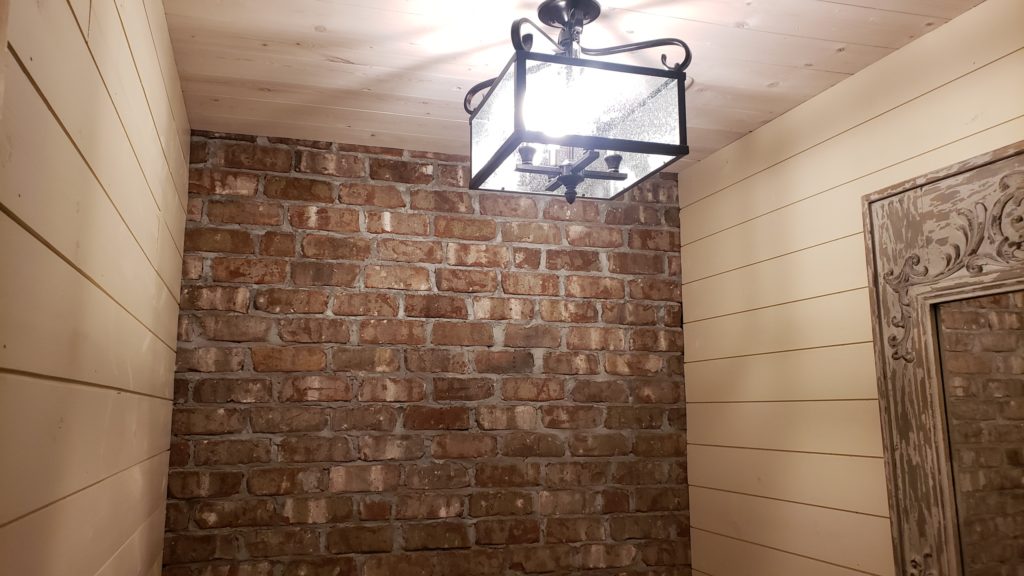
Continue that process and make a cut at the top course if needed. I added the ceiling and walls up to the brick so it would look authentic. Now you know one way to add an interior brick accent wall to your home.